Clean Gear, Clear Cup: A Maintenance Routine That Protects Flavor
Coffee equipment can look clean while holding stale oils, fine particles, mineral scale, and damp residue in places that affect every brew. Maintenance is not cosmetic. Old coffee oils can turn rancid, retained grounds can contaminate a fresh dose, and scale can change kettle performance. A short routine protects flavor and helps equipment behave predictably.
Always begin with the manufacturer’s cleaning instructions. Materials, coatings, electrical parts, and disassembly limits vary. Unplug powered equipment and let hot components cool before cleaning.
After every brew: remove coffee promptly
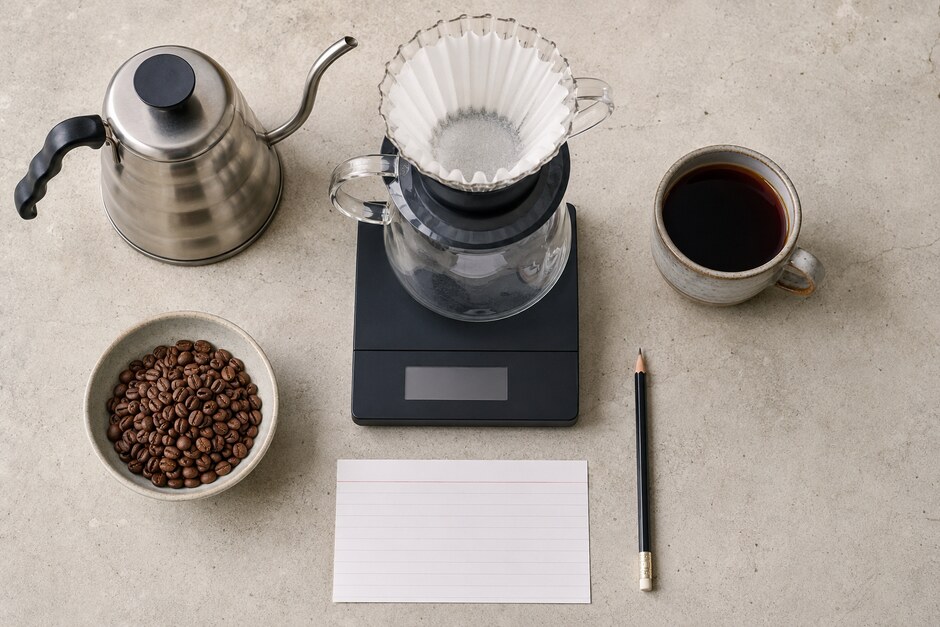
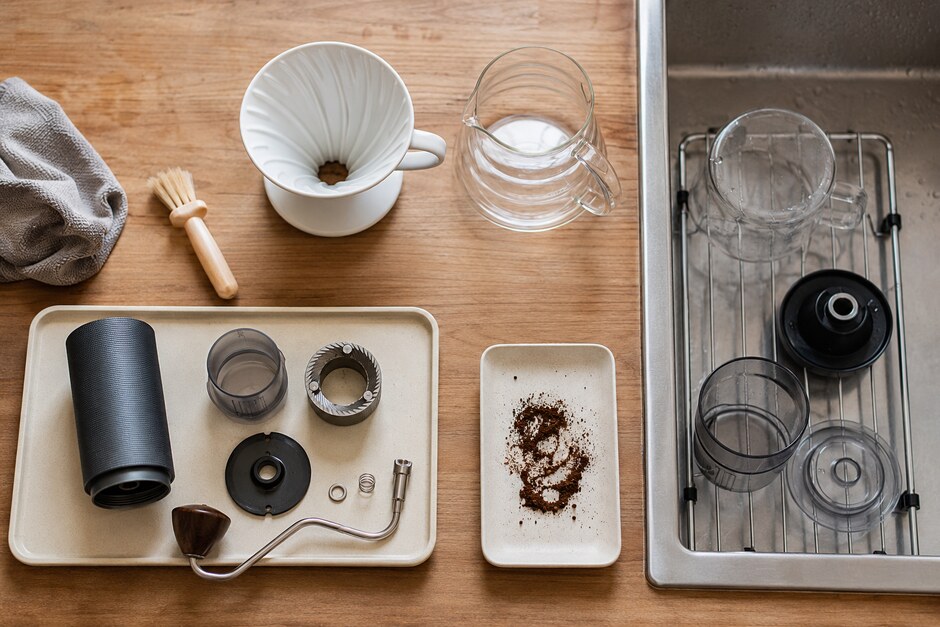
Discard the paper filter and grounds once they are safe to handle. Rinse washable drippers, servers, and immersion parts with appropriate warm water before residue dries. Use a soft brush or cloth where needed, then allow every part to dry fully.
Do not leave wet grounds in a closed brewer. Moist organic material and restricted airflow create odors and can support unwanted growth.
Keep grinder cleaning dry unless approved
Brush loose grounds from the catch cup, chute, and accessible burr area according to the grinder manual. Many grinder burrs, bearings, motors, and internal assemblies must not be rinsed or immersed. Water can cause corrosion or electrical damage.
Remove only parts intended for user removal. Do not force a burr carrier, calibration ring, or screw. If the grinder uses cleaning pellets, use only a product and procedure approved for that model.
Schedule a deeper coffee-oil clean
Once a week or according to use, inspect reusable filters, server lids, plungers, seals, and grooves where oil collects. A suitable mild, unscented cleaner may be needed for washable parts. Rinse thoroughly so no fragrance or detergent residue reaches the next cup.
Separate silicone seals when the manufacturer allows it. Coffee can hide beneath them even when the visible surface looks clean. Replace damaged seals rather than tightening or forcing the brewer to compensate.
Descale by evidence and instructions
White mineral deposits, slower heating, unusual kettle noise, or visible flakes can indicate scale. Use the kettle manufacturer’s recommended descaling method and frequency. Do not mix cleaning chemicals, and never seal or heat a solution in a way the instructions do not permit.
After descaling, complete every required rinse cycle. A clean-looking kettle is not ready until the cleaning solution has been fully removed.
Protect paper and cloth filters
Store paper filters dry and away from cooking odors. Cloth filters require a specific cleaning and storage routine to avoid trapped oils and microbial growth; follow the maker’s directions carefully. If a reusable filter develops persistent odor, damage, or contamination that cannot be safely removed, replace it.
Metal filters need attention around seams and mesh. Use a soft tool that will not deform the openings.
Inspect the small flavor traps
Smell the server lid, grinder catch cup, travel mug gasket, and kettle opening. These parts often reveal stale residue before it becomes visible. Check brushes and cloths as well; a dirty cleaning tool simply redistributes oils.
Keep a separate brush for dry coffee equipment and wash reusable cloths without strongly scented products.
Build a maintenance rhythm
- Every brew: empty grounds, rinse approved parts, wipe the station, and dry.
- Weekly: inspect oils, seals, filter surfaces, grinder chute, and server lid.
- Periodically: descale as required, inspect burr condition, and replace worn parts according to guidance.
Record the last deeper clean and descale date. If flavor suddenly becomes dull or bitter while the recipe remains unchanged, maintenance becomes an easy variable to check.
Clean gear will not rescue poor beans or an unbalanced recipe, but it removes a layer of uncertainty. The next cup tastes like the coffee and the decisions you made today—not the residue of every brew that came before it.